Photography Tips
LUMIX Gh4: Capturing Stills from 4k video
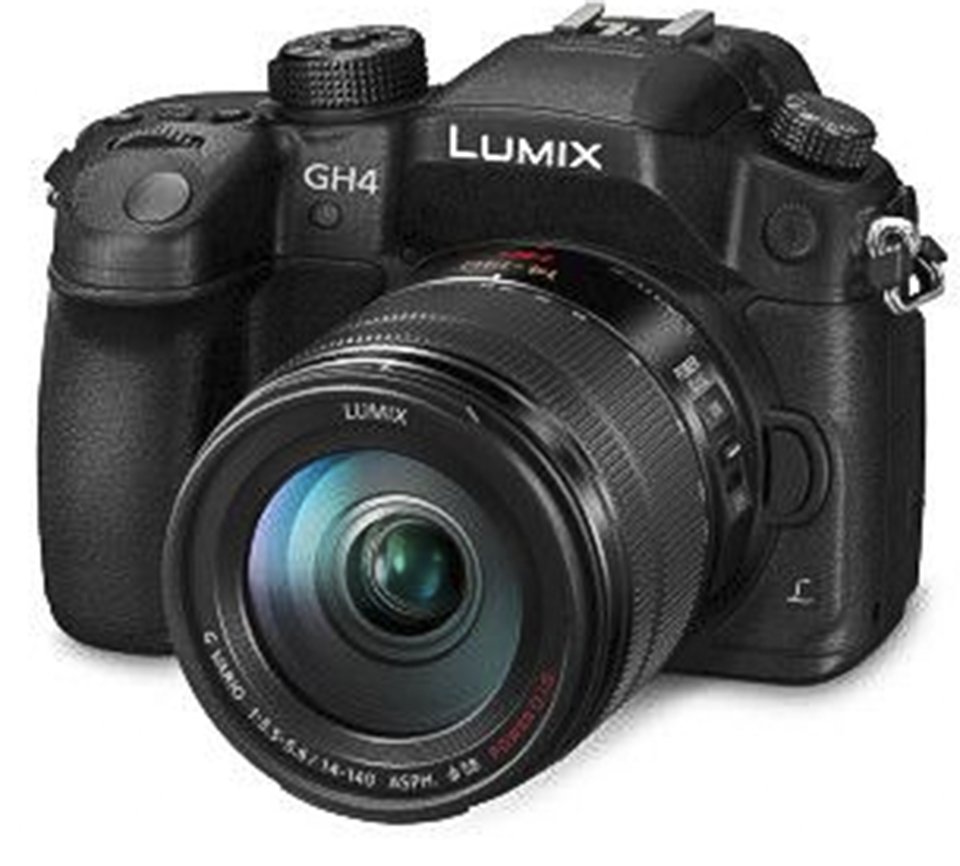
Recently, I tested a Panasonic LUMIX Gh4 with two important features that affect how still photographers will be capturing images in the near future. Firmware now offered by Panasonic for…
Read MoreReview of My 2014 Blogs
Recently I looked back at the archive of blogs that I posted in 2014. Although there were a couple of outliers, most blogs fit into specific photographic themes. Please click…
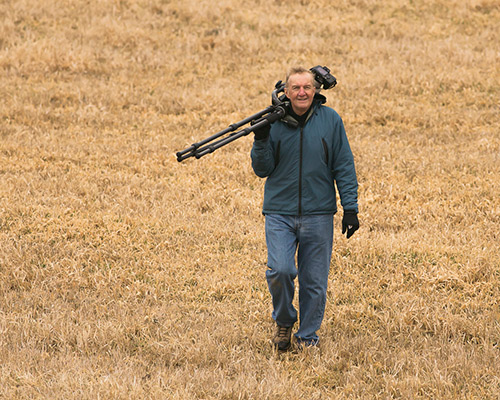
Read MorePatience Makes For Better Pictures

I was going to call this blog “Waiting It Out”, but the term that Chris Johns, the Editor of the National Geographic and a photographer uses is “circling back”. What…
Read MoreLocal Knowledge Enhances Your Travel Photos

Many times when we are traveling we are in someone else’s control. This can be a good thing, as when we are on a vacation we are not interested in…
Read MoreStar Light, Star Bright – How to Photograph Stars
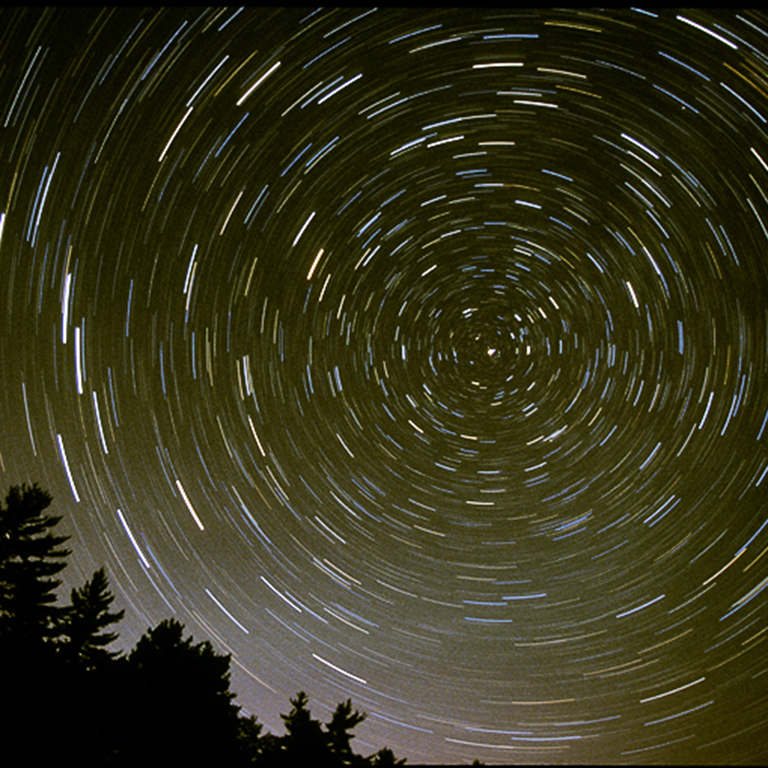
Star photography has been a long-time enigma for photographers, and it still is for cinema-photographers. We can easily see a wonderful array of millions of celestial objects on clear nights,but…
Read MoreSunrise , Sunset – How to Photograph the Sun

The previous blog concerned photographing the moon, and following this extra-terrestrial theme, here is a blog about photographing the sun. I used to say that perhaps 15% of all photographs…
Read MoreBetter Pictures When Shooting the Moon
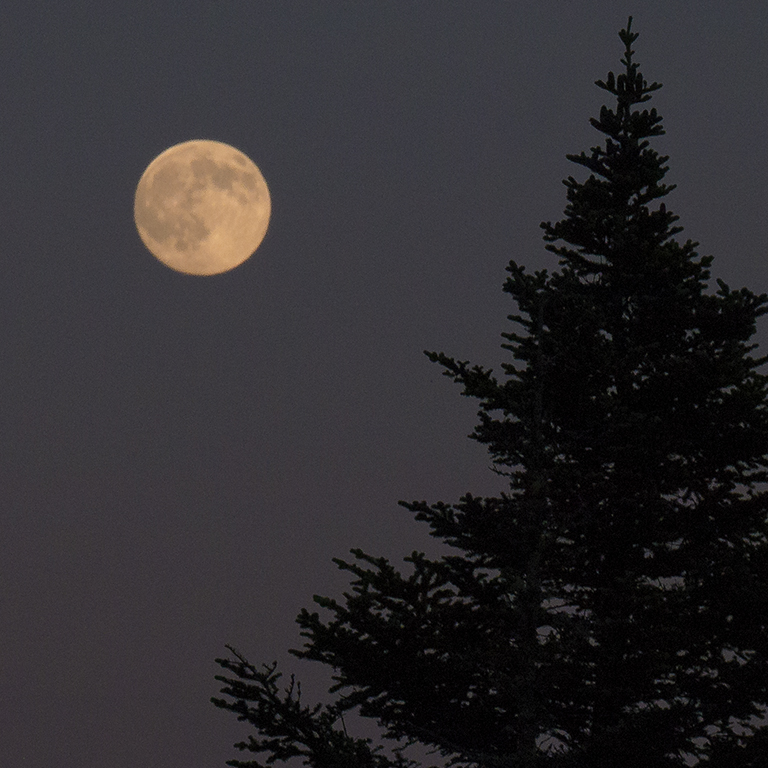
About once a month in the evening, barring clouds, a full moon appears in the Eastern sky. The sighting inspires poets, astronomers, lovers and photographers. This blog is appropriate, as…
Read More