Posts Tagged ‘art photography’
Archiving The Freer/Sackler Museums Collection
The Freer/Sackler Museums of Asian Art are a hidden jewel in the Smithsonian complex on the National Mall in Washington, DC. Yearly visitors at the Freer/Sackler number about a half…
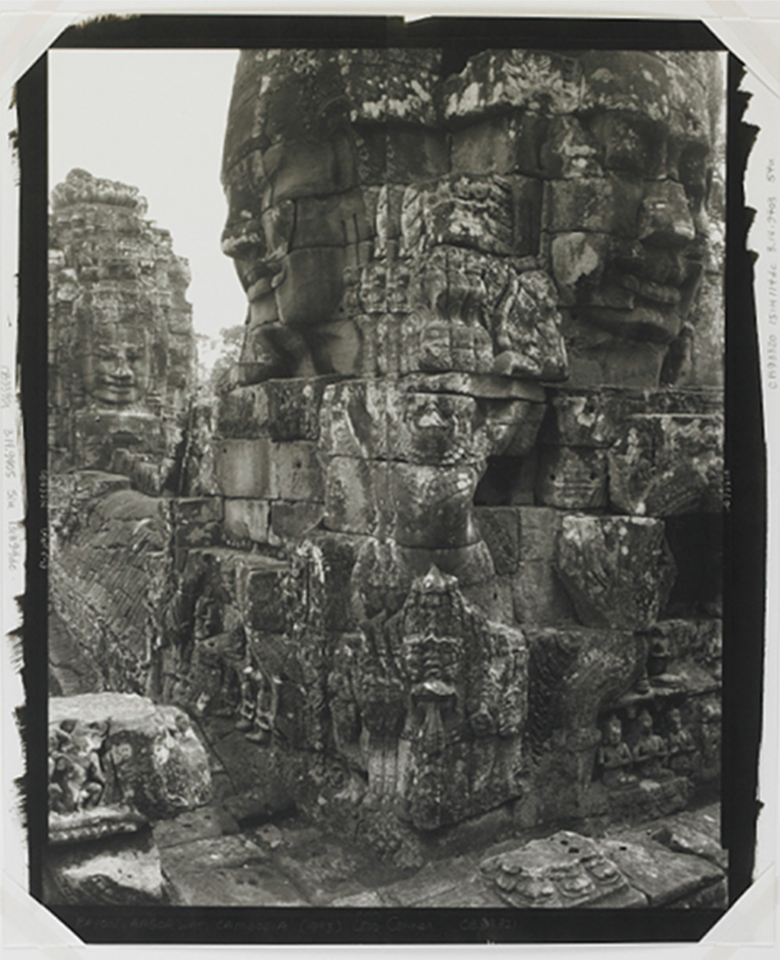
Read MoreThe MOMA Exhibit OBJECT:PHOTO
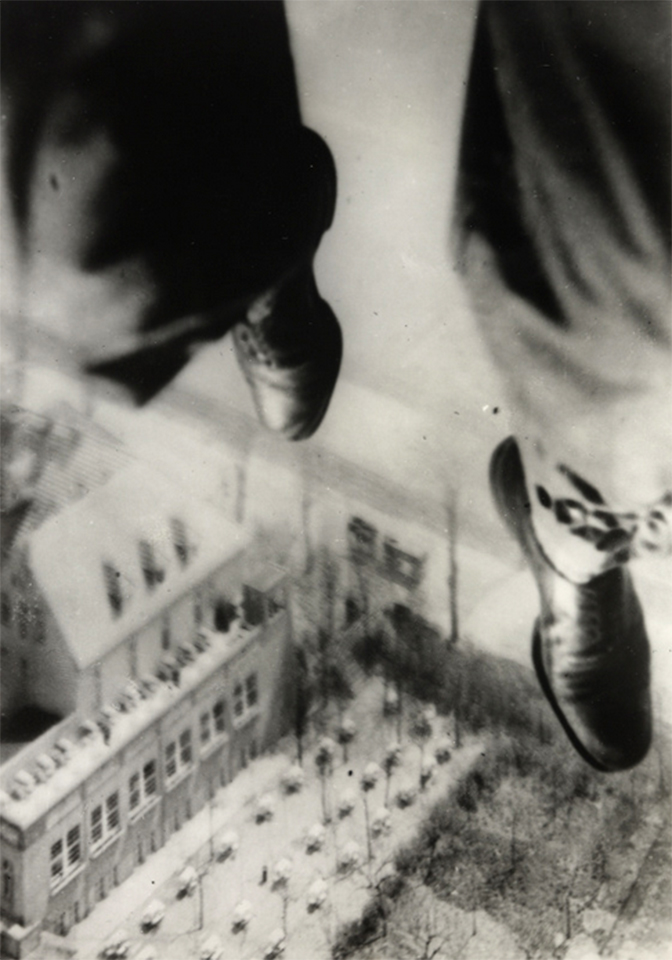
I saw the photographic exhibit “OBJECT:PHOTO at the Museum of Modern Art in New York City. It is essentially the Thomas Walther Collection, a selection of 341 ”modern” photographs by…
Read MoreLocal Knowledge Enhances Your Travel Photos

Many times when we are traveling we are in someone else’s control. This can be a good thing, as when we are on a vacation we are not interested in…
Read MoreStar Light, Star Bright – How to Photograph Stars
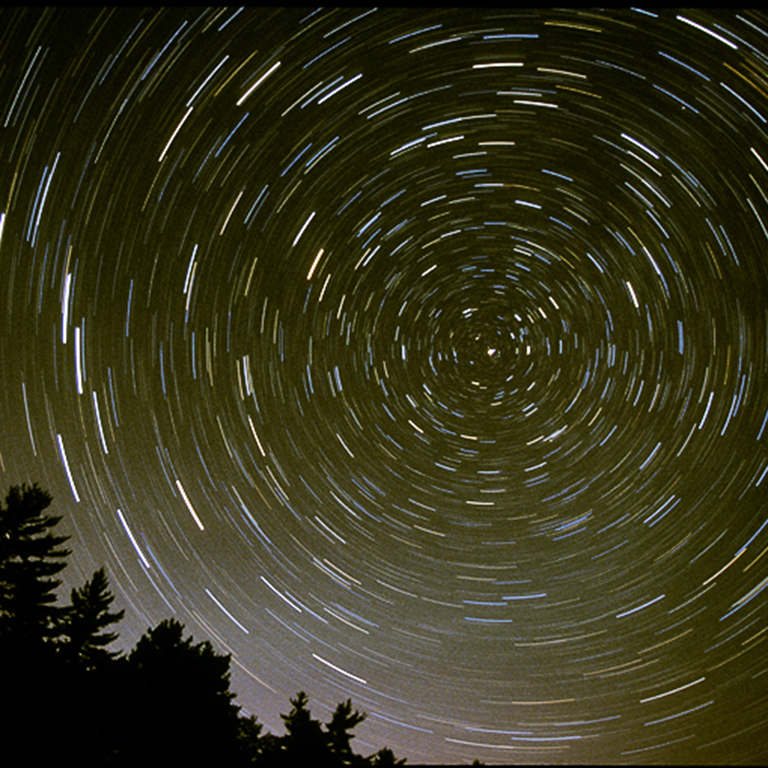
Star photography has been a long-time enigma for photographers, and it still is for cinema-photographers. We can easily see a wonderful array of millions of celestial objects on clear nights,but…
Read MoreWard Museum Art in Nature Photo Festival
At the 4th Annual Festival, Salisbury University, Salisbury, Maryland, I will be presenting a talk on Do We Still Need DSLRs (Digital Single Lens Reflex cameras)? at 11:30 AM, Saturday,…
Read MoreBetter Pictures When Shooting the Moon
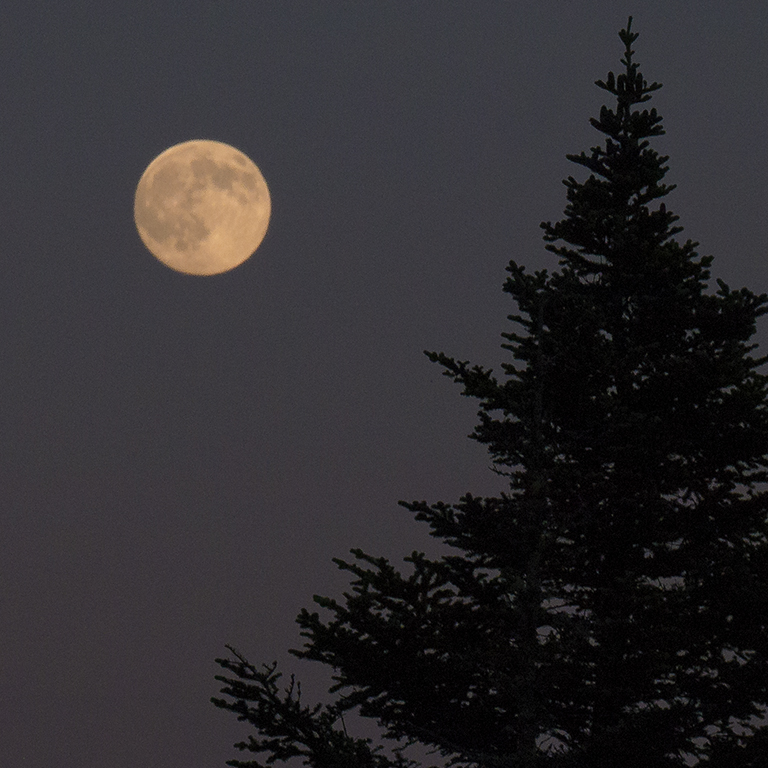
About once a month in the evening, barring clouds, a full moon appears in the Eastern sky. The sighting inspires poets, astronomers, lovers and photographers. This blog is appropriate, as…
Read MorePhoto Contests and Museum Submissions
Recently, I have had some success with several photo contests and acceptances for museum exhibits. Besides the price of the entry fee, entering these venues involves a bit of effort.…
Read MoreMadden Print Accepted for Prestigous Gallery
Recently the Mitchell Gallery in Annapolis, Maryland accepted one of my photographs for the exhibit “Image and Imagination”. It is a juried show. The exhibit opens May 24 and the…
Read More